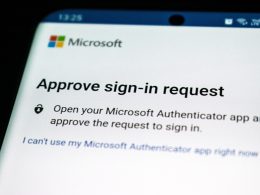
Setting up Two-Factor Authentication (2FA) on your Twitter account is the best way to prevent unauthorized access to your account. Social media breaches are all too common and passwords alone aren’t able to keep you protected from savvy hackers. With 2FA in place, you’ll have an extra layer of security so that you have greater control over access to your social platform. You can find more information about what 2FA is and how it works here .
Follow these 9 easy steps:
Step 1: Log in to your Twitter account on a web browser and click “more.”

Step 2: Click on “Settings and privacy”

Step 3: Click on “Security and account access”

Step 4: Click on “Two-factor authentication”

Step 5: Choose a security method for your 2FA. You can choose to authenticate through text message, authentication app, or security key. An authentication app like the Google Authenticator App is the best route to take.

Step 6: After checking the “Authentication app” box, you may be asked to enter your Twitter password to confirm your identity. Enter your password, if prompted. And then, after this, click “Get started.” A QR code will pop up on the screen.

Step 7: Download and open the Google Authenticator App and click “Scan a QR Code”

Step 8: Use the Google Authenticator app to scan the QR code on your screen.
Step 9: You’ll be prompted with a 6-digit confirmation code. Enter it on Twitter.
All set!


